You can view and change the properties of a project.
Project Properties Dialog
To view project properties
•In the Workspace Browser, right-click the project name and then click Properties.
-OR-
•Click Project > in the Edit section, click Settings.
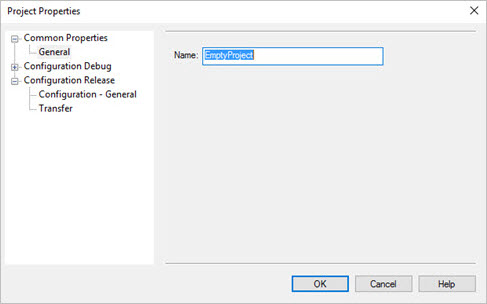
A project's Common Properties include its name, in the General section. The Debug and Release configuration sections each have a General section which allow you to specify an external program or URL to run or debug the project. They also have a Transfer section which allows you to specify transfer options for publishing the project, either in debug mode or release mode. Transfer can be made via ftp or network file copy and you can specify destination paths and credentials. You can also set the project mode to Local or Master which will be discussed shortly.
This separation between debug and release modes allows you to specify (for example) a local server for debugging the project and a production Web server for releasing the project.
Managing Configurations
You can modify the workspace itself to provide additional configurations aside from Release and Debug or even to modify those two names. Doing so can provide you with additional transfer destinations, if needed.
For example, you might create an additional configuration called "Test." This would allow you to have a Debug configuration where the project runs locally, a Test configuration that deploys to a test server, and finally a Release configuration that deploys to your production server. You can create as many additional configurations as you need.
To do so, right-click the workspace and select Configuration Manager (or simply click Configuration Manager on the Project tab). Click New… to add a new configuration. When adding a new configuration, you can copy the configuration's settings from an existing configuration, if desired-this is a good shortcut when the new configuration won't differ much from an existing one.
Then, go back into the project properties and you'll see your new configuration listed.
Local Mode vs. Master Mode
If you open a project's configuration (any of them—Debug, Release, or one you've defined), you'll notice a "project mode" setting. Projects can be set to either Local Mode or Master Mode.
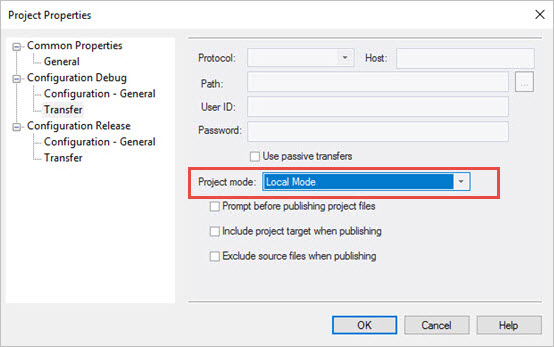
Local Mode
The default is Local Mode, which allows you to work on all project files locally. Files aren't published until you specifically do so (discussed in the next section). When you publish, files are published to the target defined in the currently-selected configuration, meaning you can have a separate publishing target when you're in Debug, Release, or another configuration you've defined.
Master Mode
With Master Mode, changed files are automatically published to the defined target for the currently-selected configuration.
How is this useful? Let's say that you don't have a Web server on your local computer and, while in Debug mode, you want to test from a testing Web server on your local network. However, for Release, you want to publish to a production Web server. Configure the Debug configuration to be in Master mode and configure it with the appropriate settings to publish files to your testing Web server. Each time you save a file locally, it'll be published to your testing server immediately. Keep the Release configuration in Local mode and switch to Release mode when you're ready to publish all changed files to your production Web server.
See also: